
Is your group member absent? Have you finished your work for today? You have nothing to do?
PRACTICE YOUR EDITING SKILLS!
PRACTICE YOUR EDITING SKILLS!
Use these Video Clips to Practice Editing. Raw Footage and Quick Edit
Step by Step instructions for editing Videos in Final Cut or Premiere:
Organizing your clips on your desktop is vital!
Open Final Cut Pro or Adobe Premiere.
Step by Step instructions for editing Videos in Final Cut or Premiere:
Organizing your clips on your desktop is vital!
- Import video clips from camera/SD card/drive.
- *DO NOT use photos! It will automatically pop up on import. Please ignore this. Open up the SD card/device icon that pops up on your desktop.
- Create a folder on desktop labeled with the name of your project.
- Select your videos that you would like to import by highlighting them and dragging and dropping them into your newly created folder.
Open Final Cut Pro or Adobe Premiere.
- Import your video clips from your desktop folder.
- They will appear on the top left corner in your media files/source monitor.
- Here is where you will have single clips that you will be able to drag down to your timeline to begin to piece together your movie.
- The right side of your screen is your playback screen.
- This is where you will see what it will look like when you add your clips to the timeline.
- The timeline is on the bottom part of your screen. Drag your single clips down to the timeline in the order in which you would like to see them play.
- This is where you will add, trim, delete clips, transitions title screens, etc.
- Spacebar will play your clips in your timeline which will play in the playback screen on the upper right.
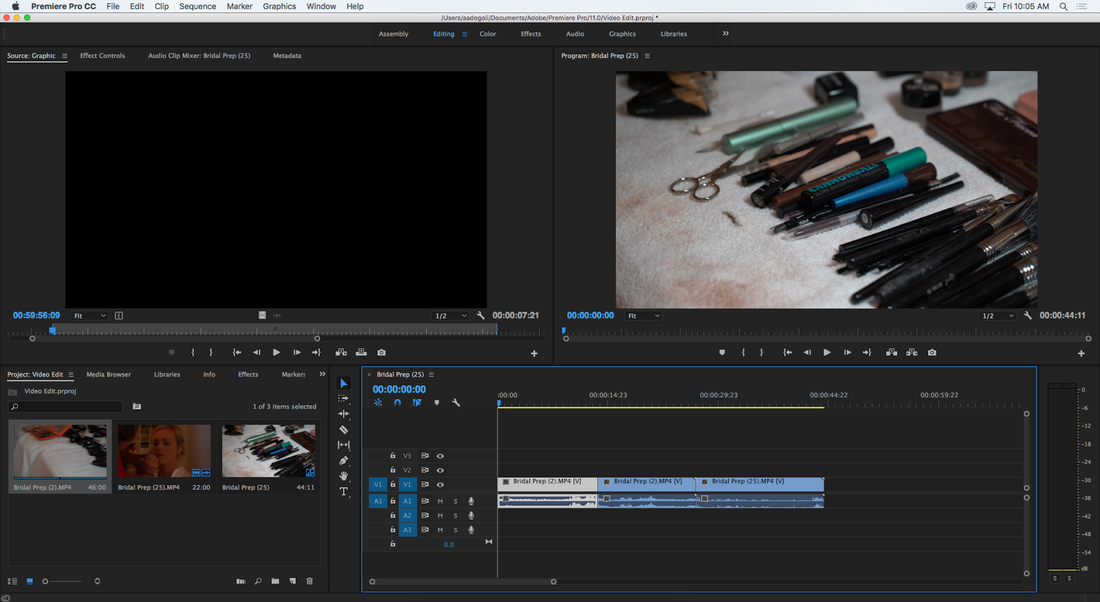
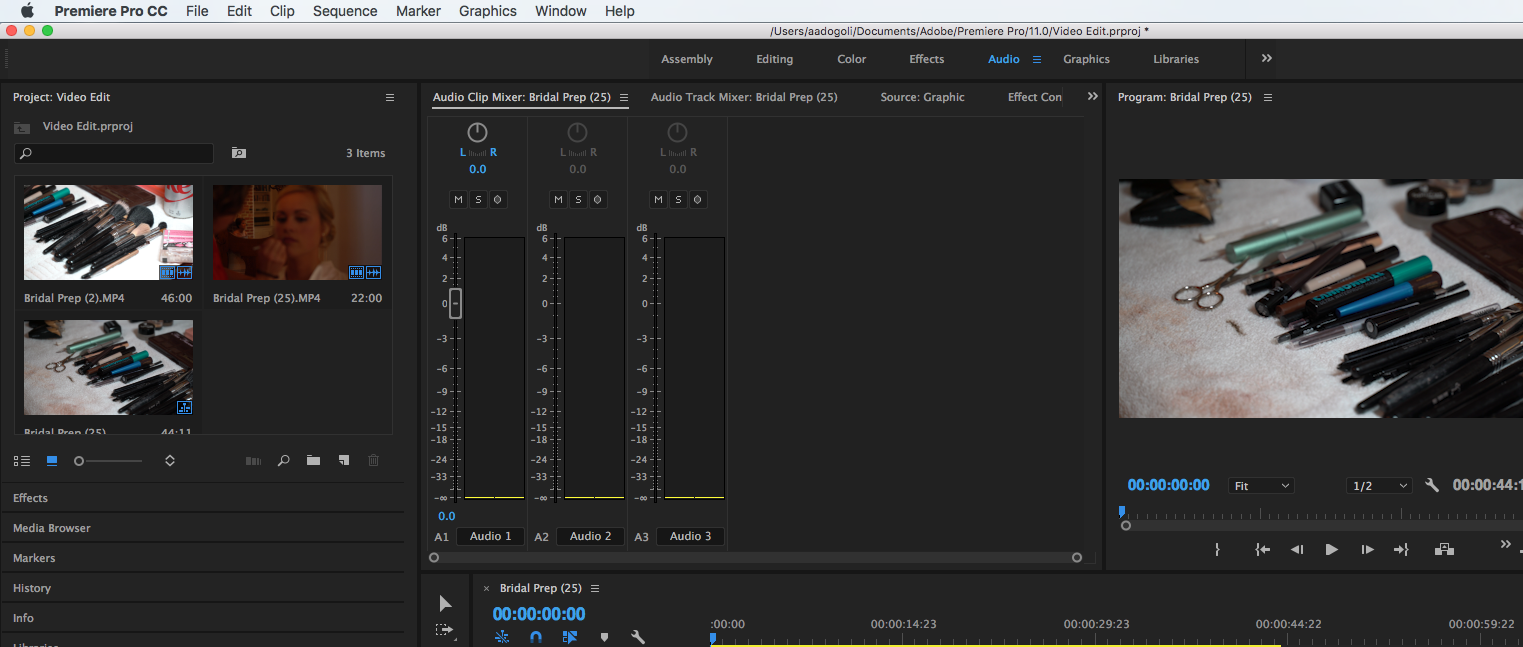
Importing into Premiere
|
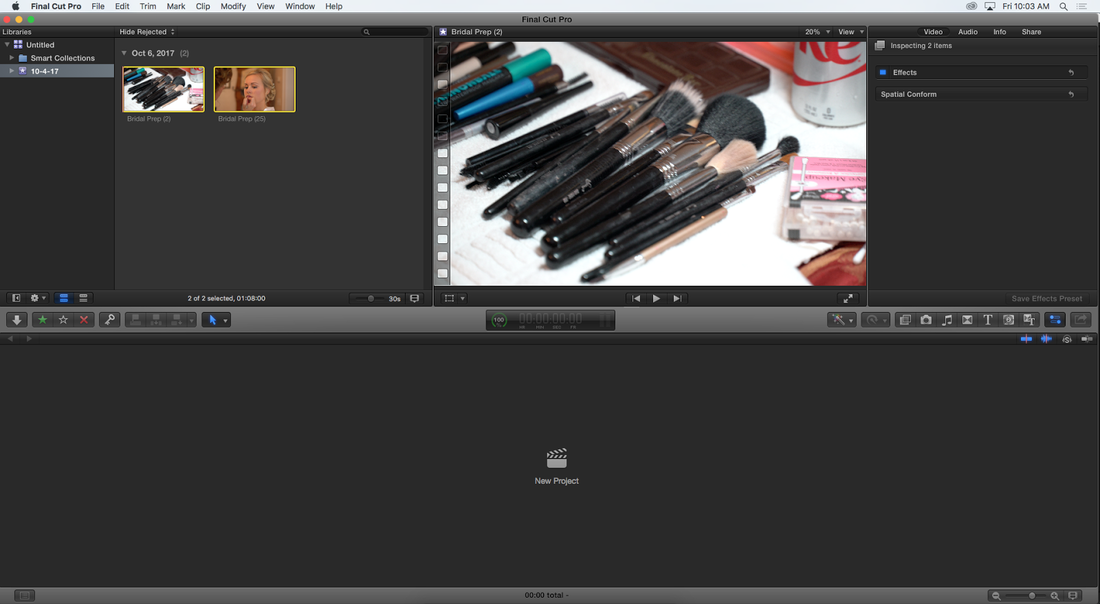
Importing into Final Cut
|
|
*You will need to create a Project before moving clips down to timeline in Final cut. >>>> |
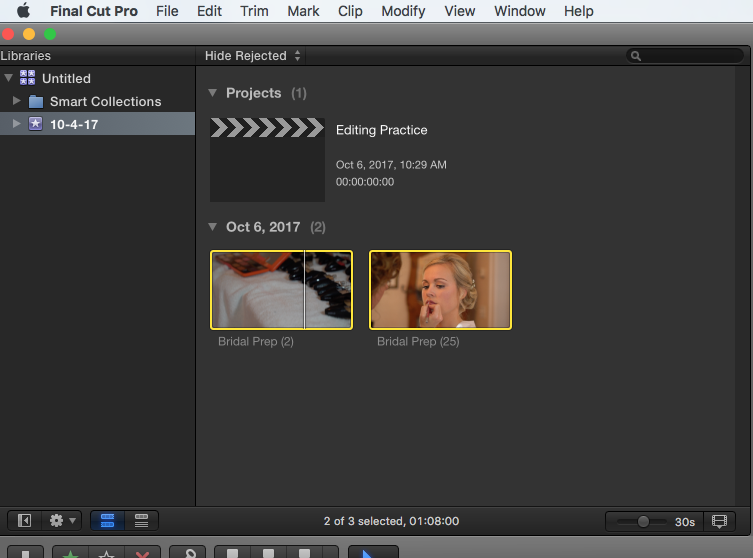
|
Editing Clips with Final Cut or Premiere
- Zooming into your timeline will be beneficial when trimming.
- To trim your clips:
- The default type of trim in Final Cut Pro is a ripple edit, which adjusts a clip’s start point or end point without leaving a gap in the timeline. The change in the clip’s duration ripples outward, moving all subsequent clips earlier or later in the timeline.
- The default type of trim in Final Cut Pro is a ripple edit, which adjusts a clip’s start point or end point without leaving a gap in the timeline. The change in the clip’s duration ripples outward, moving all subsequent clips earlier or later in the timeline.

Premiere Trim
|
Final Cut Trim
|
|
3. Refine your clips to create a smooth storyline.
*Zooming in to your timeline will help you see where the cut needs to be made. |
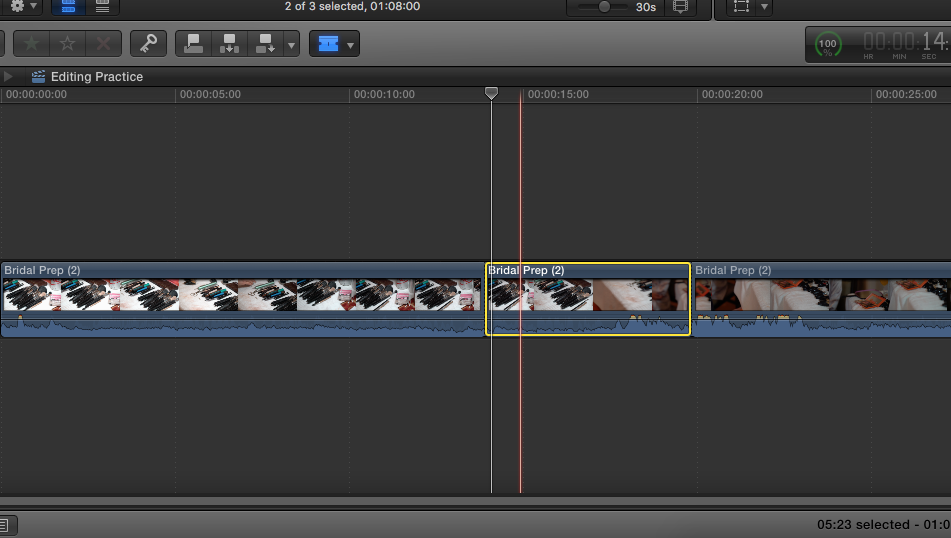
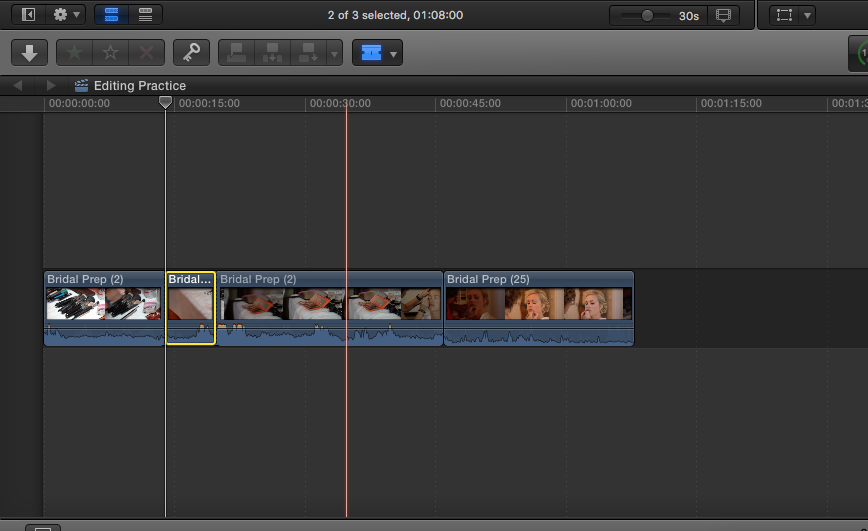
Final Cut Zoomed in on Timeline
|
|
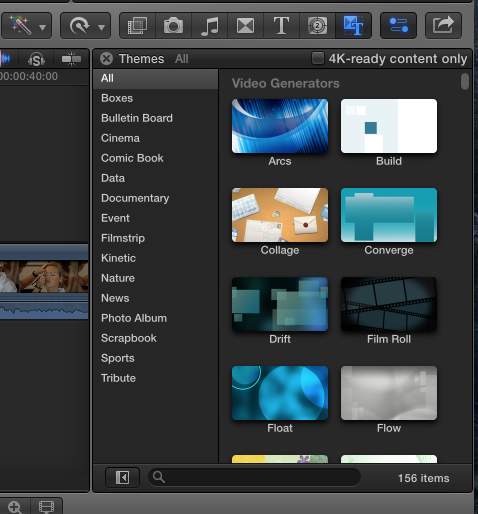
4. Add transitions / effects
|
Final Cut Add Transitions
|
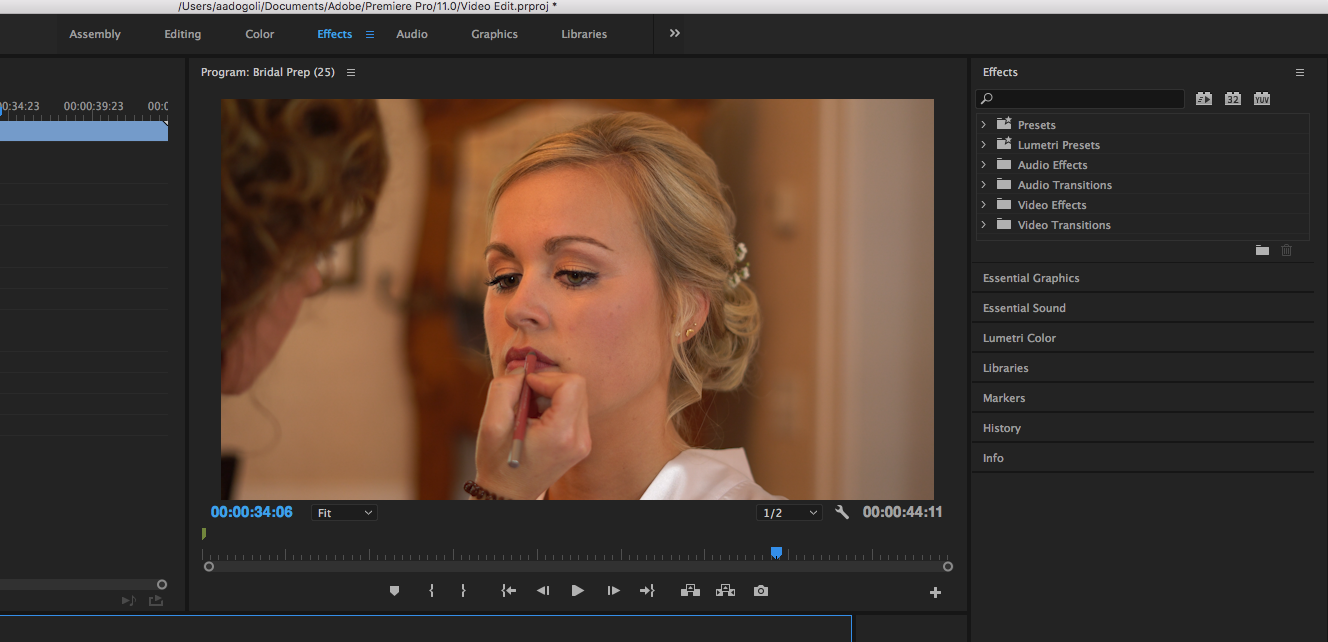
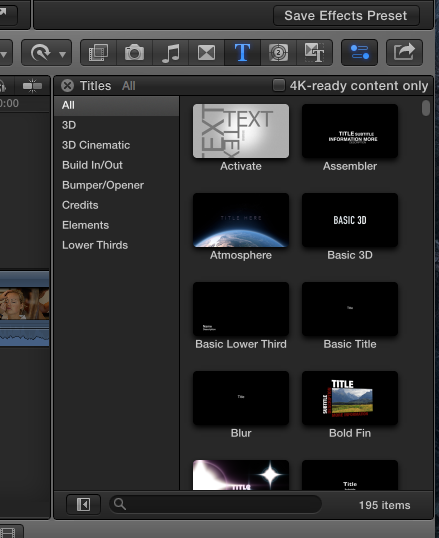
5. Add titles/text/effect
Premiere
|
Final Cut
|
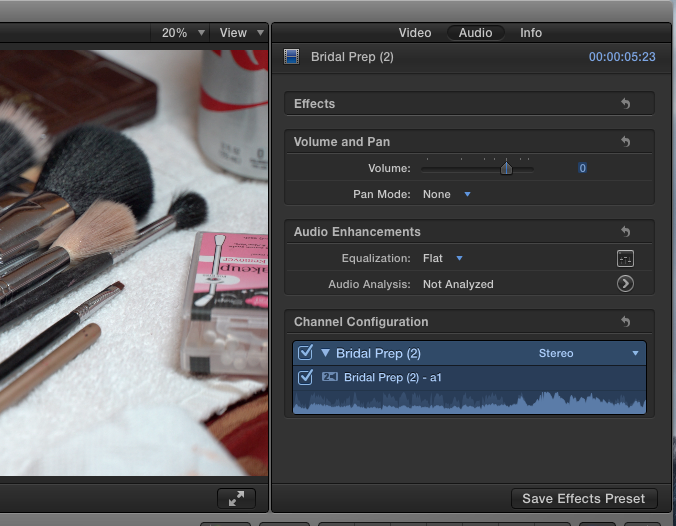
6. Mix Audio - block out any ambient sounds and add music to create a seamless video.
|
|
